


Chicken Katsu Musubi
Portable. Crispy. Emotionally Fulfilling.

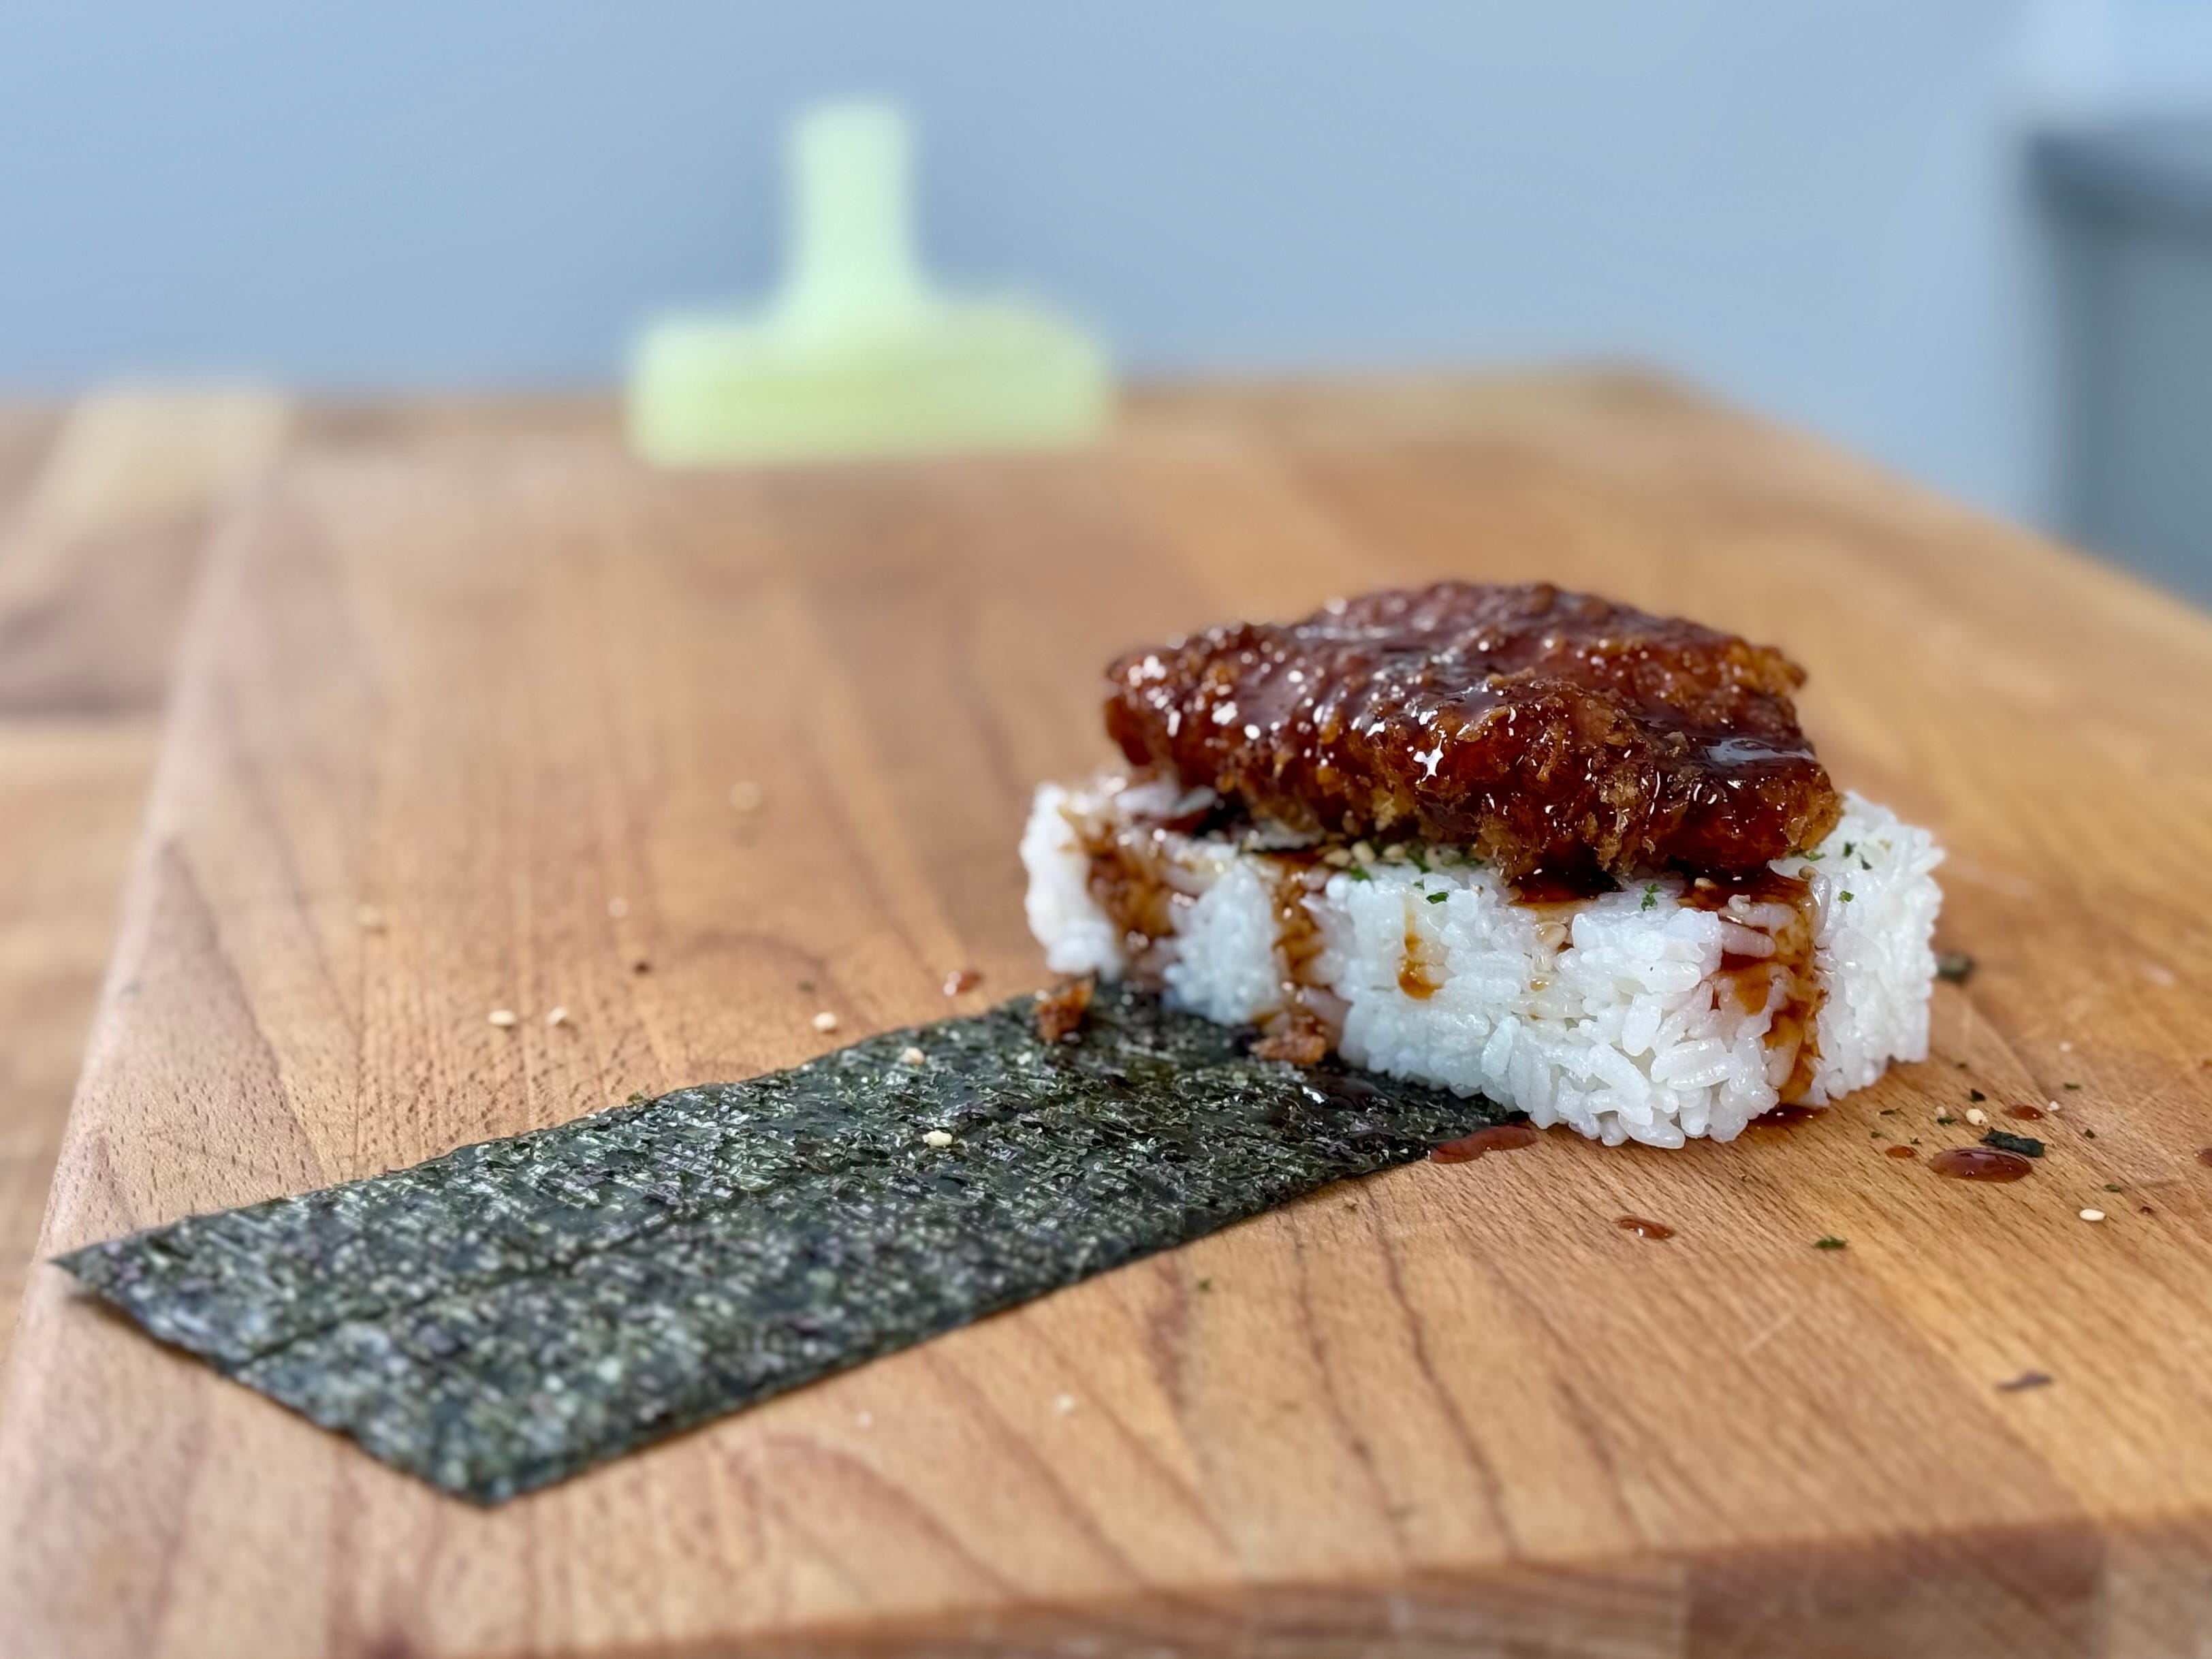
This is one of those foods that just puts a smile on my face. One bite in and pure joy. It also brings me one step closer to the coveted Plate Lunch Musubi. I’ve tried it before but it’s difficult to get it to hold its shape. BUT if you like this, drop a comment and tell me to stop being a chicken and to follow my destiny and make a Plate Lunch Musubi.
Chicken Katsu Musubi
Portable. Crispy. Emotionally Fulfilling.
Prep Time: 10 minutes
Cook Time: 60 minutes (but only because of the rice)
Servings: 6
Ingredients:
Rice
Rice (2 ¼ cup OR 3 rice cooker cups)
Water (2 ½ cup OR fill to “3” line)
Chicken Katsu
Boneless/Skinless Chicken Thighs (2)
Salt (to taste)
Black Pepper (to taste)
AP Flour (1 cup)
Egg (2)
Japanese Panko (2 cups)
Frying Oil (enough to submerge)
Sauce
Shoyu (3 tbsp)
Ketchup (3 tbsp)
Worchishire (2 tbsp)
Oyster Sauce (2 tbsp)
Hot Honey (1 tbsp)
Brown Sugar (2 tbsp)
Other
Nori (2 sheets)
Furikake (to taste)
Preparation:
Cook the Rice
Add your rice to your rice cooker and then remove the bowl.
Rinse your rice 4-5 times or until the water runs clear.
Then place the bowl back in the cooker, add your water, and press that beautiful “cook” button.
Make the Chicken Katsu
Now for your chicken katsu. Start by cutting each chicken thigh into 3 equal pieces (you’re cutting them short ways, not long ways because if you cut them long ways you’ll end up with chicken sticks).
Cover your chicken with Saran Wrap and take a heavy bottom pot and gently beat to even them out. Do this for each piece of chicken. (They don’t need to be thin, you just want to make sure they cook evenly).
Then salt and pepper both sides.
Now go ahead and set up your dredging station. The first station with all purpose flour that has been lightly salted, the second station with your eggs beaten, and the last station with your panko.
Start by dipping your chicken into the flour, flipping it and tapping it all around to make sure you get complete and even coverage.
Shake off any excess flour and drop it into your egg bath.
Again, flipping it around to make sure there's complete and even coverage.
Then, just lift it up and let any excess egg drip off before placing it into your final station, the panko.
As you flip your chicken in the panko, make sure you're pressing it in to build a nice strong coat around the chicken.
Then just set that to the side and repeat with your other piece of chicken.
Now fill a heavy bottom pot, with about 3 inches of frying oil, bring that oil up to 350°F.
Then carefully fry each one of your chicken cutlets for 5 to 6 minutes or until the outside is golden.
Just remove and let it drain on a wire rack. Repeating with the rest of your chicken.
Make the Sauce
Combine the shoyu, ketchup, Worcestershire sauce, oyster sauce, hot honey and brown sugar in a small sauce pot or fry pan.
Whisk this together on medium/low heat until your sugars are dissolved and thickened up just slightly (should take no more than 5-7 minutes). Alternatively, if you like your sauce really thick, then you could continue to reduce it until it’s your desired level of thickness.
Assembling your Musubi
Start by cutting your nori into 3 even strips.
Lay one of those strips rough side up.
Place your musubi mold at the end of the nori sheet (closest to you).
Add in about a ½ cup to ¾ cup of your cooked rice.
Then using the press, push the rice down and lift off your mold.
Sprinkle on your furikake.
Place one of your katsu pieces and then brush or drizzle generously with your sauce.
Now, take a pinch of rice and spread it along the opposite end of your nori. (This is going to work like glue to hold your musubi together).
Now, tightly roll your musubi together.
This is going to be my lunch, dinner, 3 am snack from now until the end of time.